WELCOME TO OUR FLORIDA CONDO + THE BEFORE PHOTOS

I’ve already shared how we got our Florida condo, and now comes the really fun stuff: the before photos.
We purchased this 2400sqft condo from my aunt, who purchased it originally in 2006 when it was built. The family has been using it as a vacation home, and extra space for when all their kids visit. For the past few years, it was also rented seasonally, which is what Mike and I plan to do, too.
It came to us fully furnished, which is wonderful because there is no immediate need to make any major changes. We’re able to jump right in, enjoy it as-is, rent it out, and slowly update it as our time and budget allow.
There is so, so much potential, and I cannot wait to dive in. It’s actually really hard to slow myself down and prioritize. I want to do IT ALL, and I want to do it RIGHT NOW. But despite what you see on HGTV and IG, that’s not how life works.
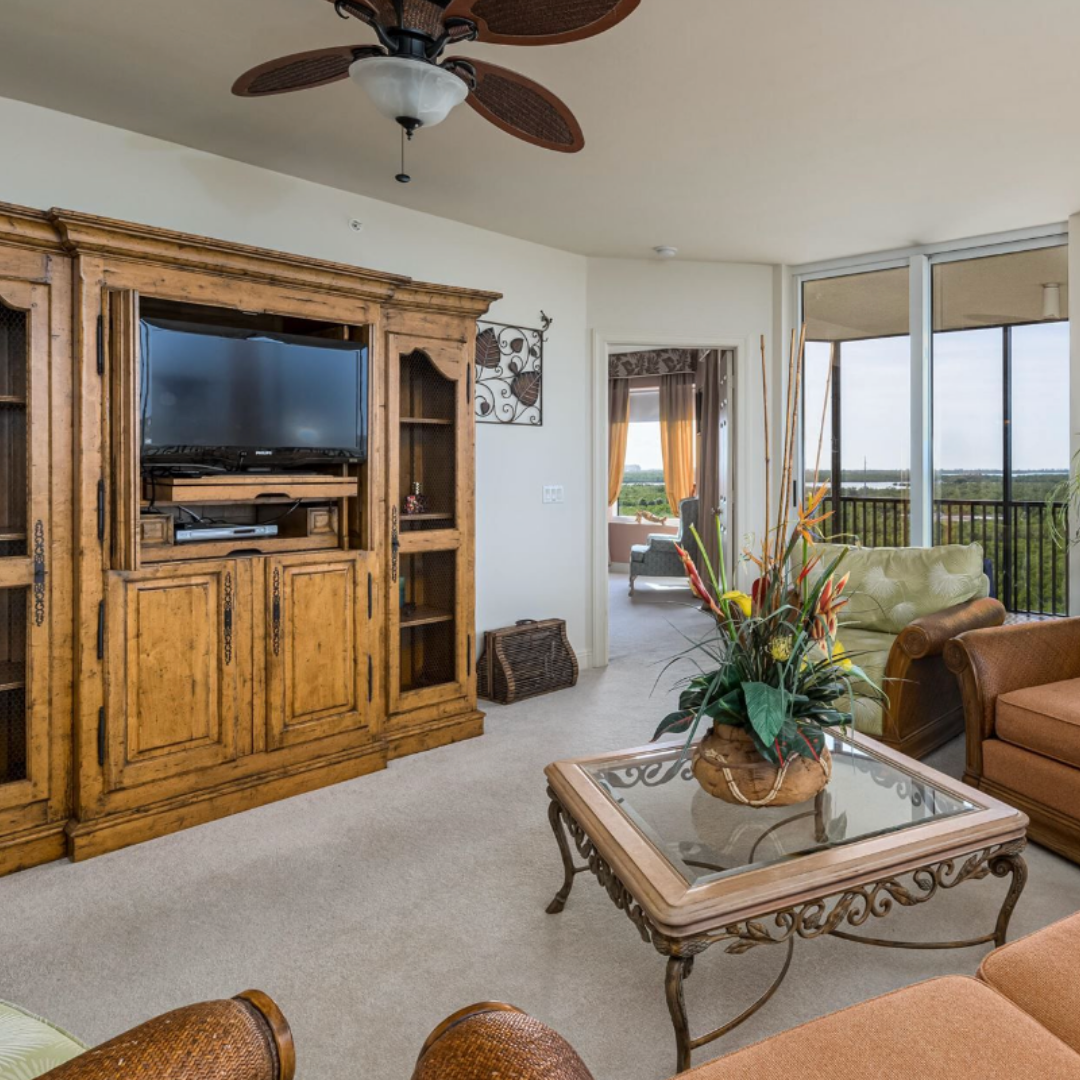
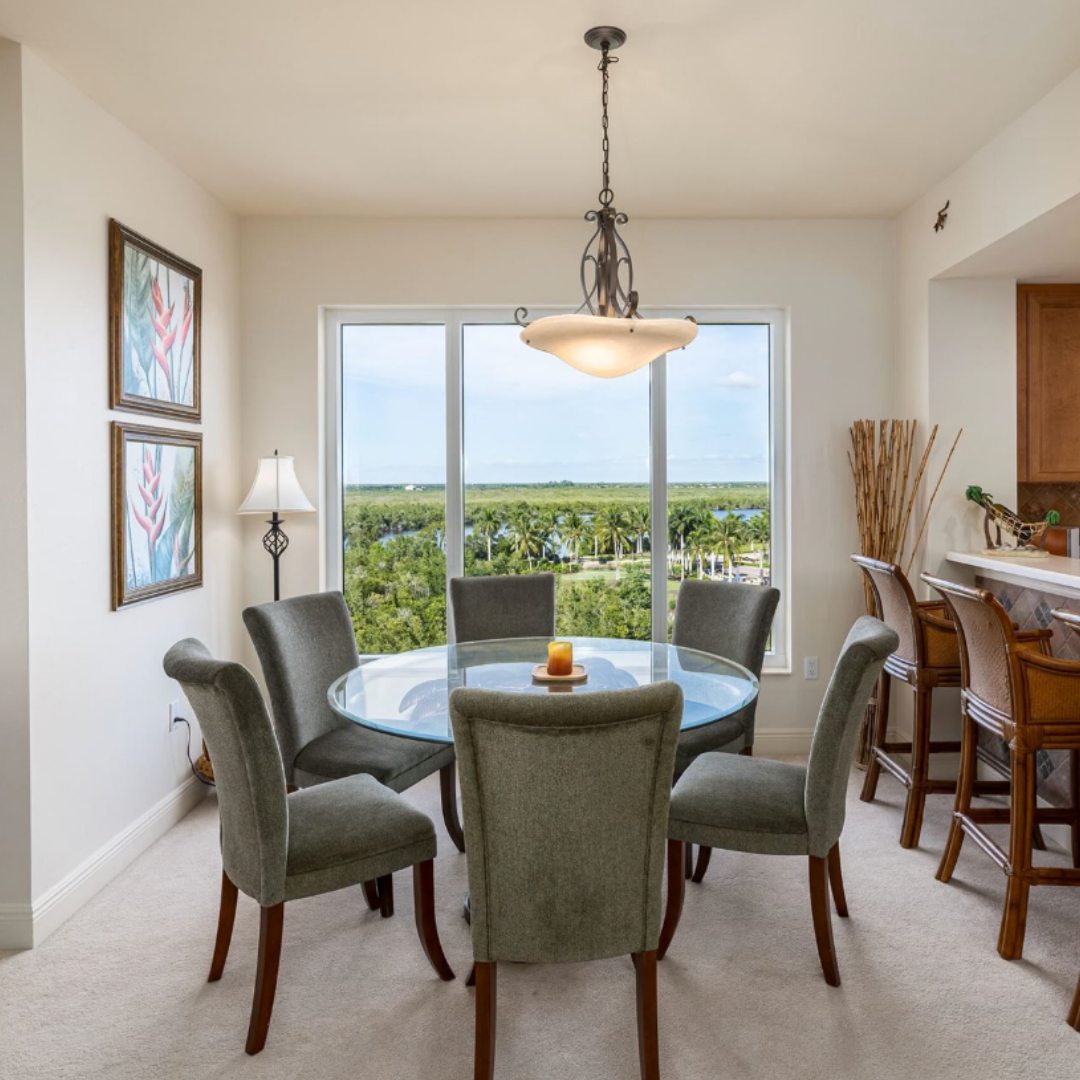
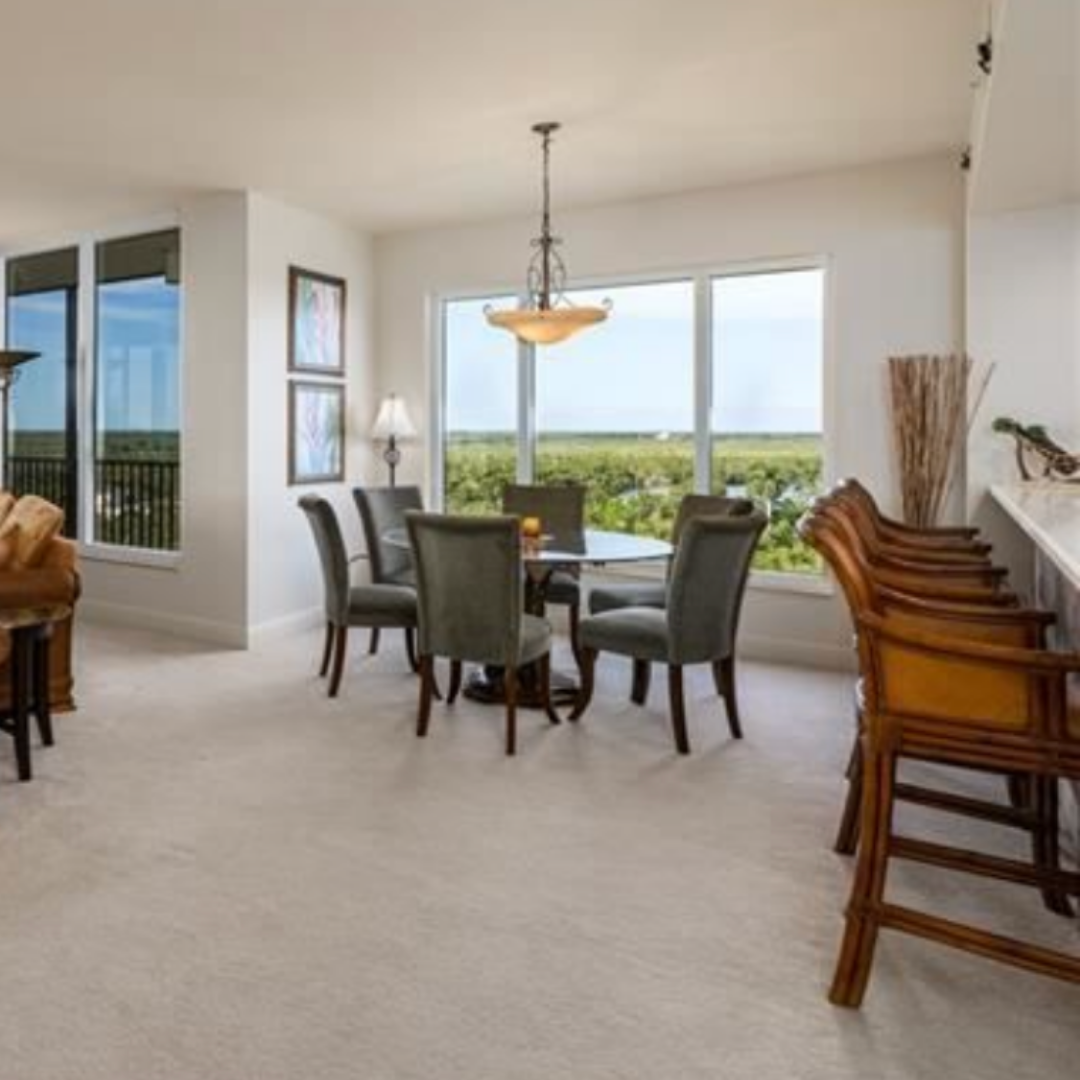
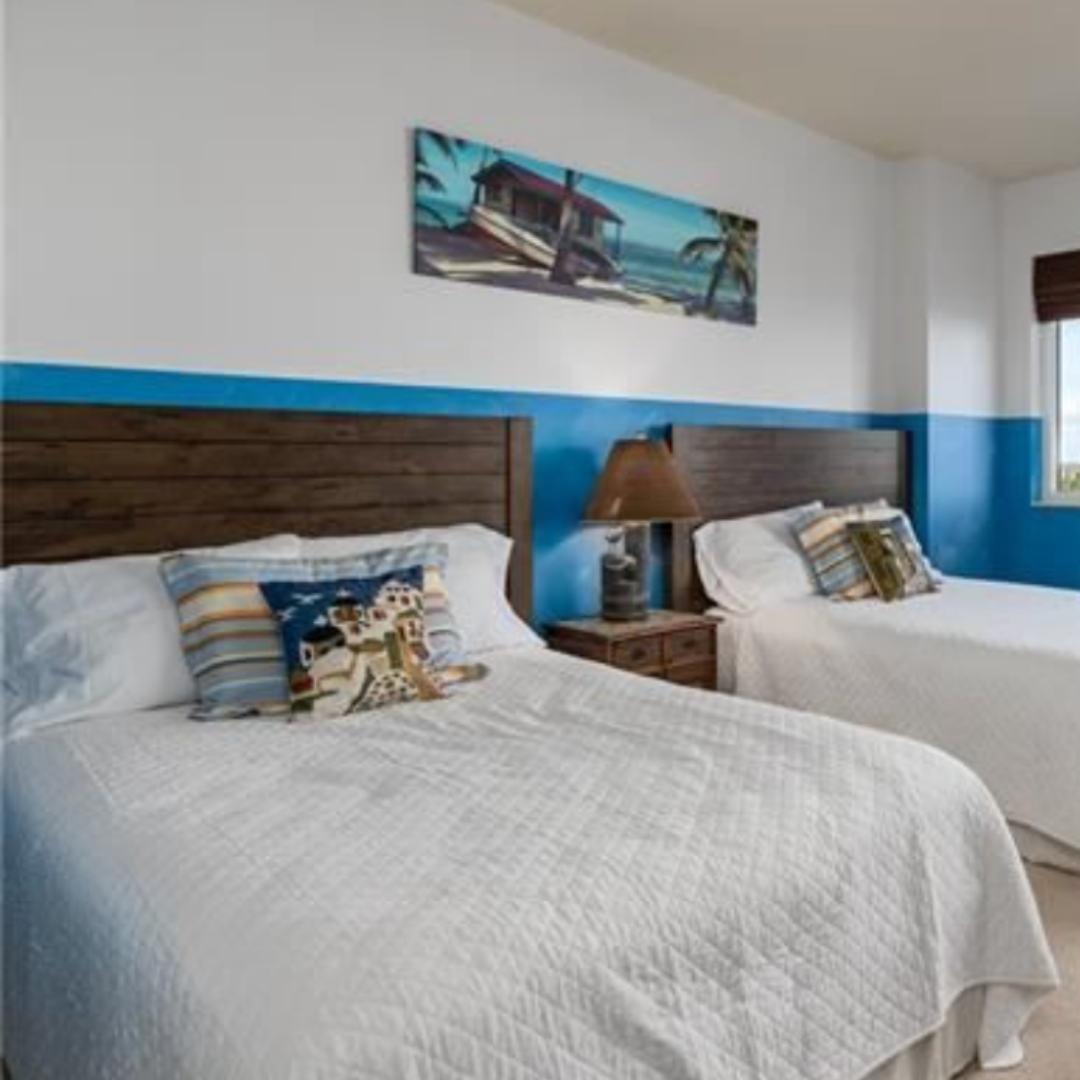
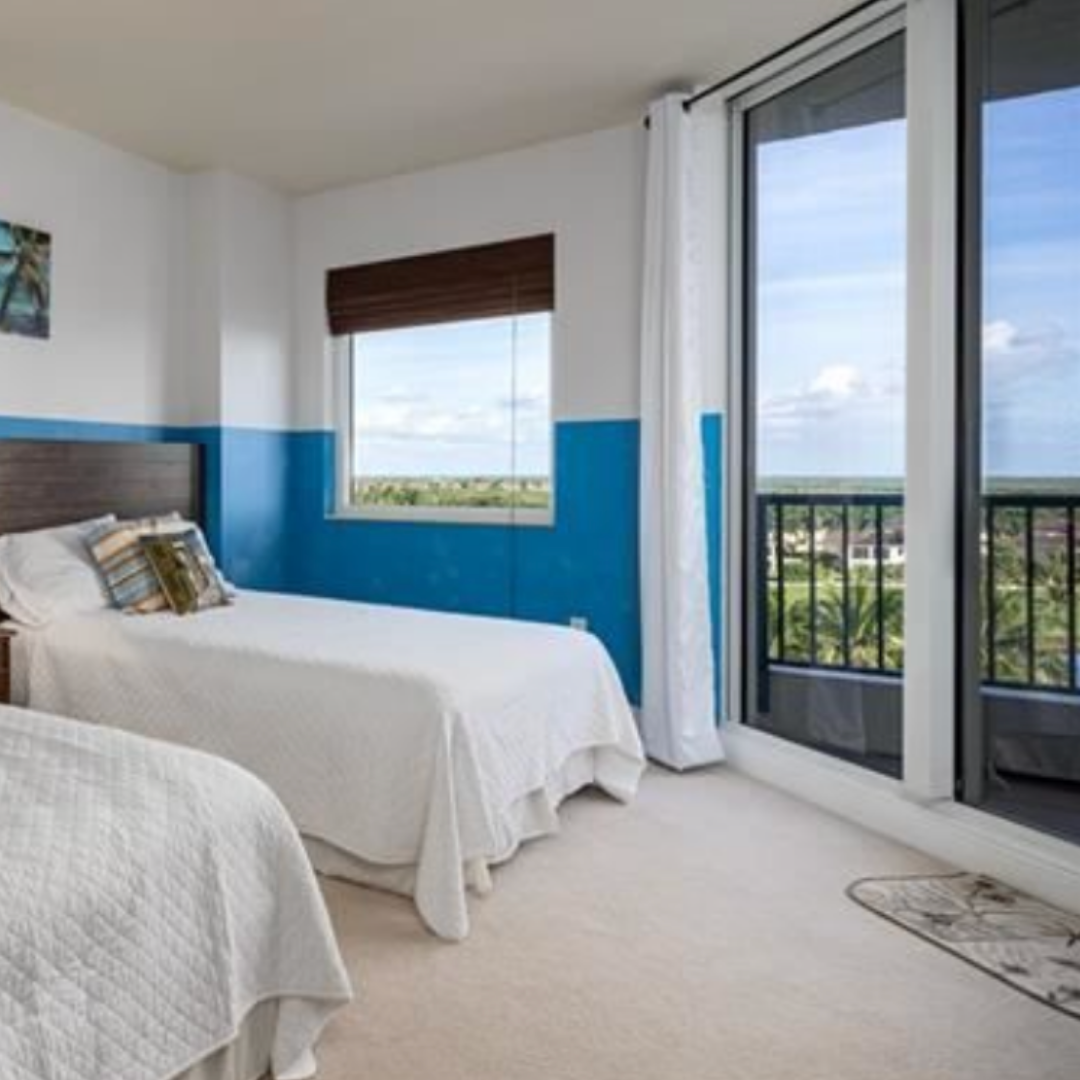
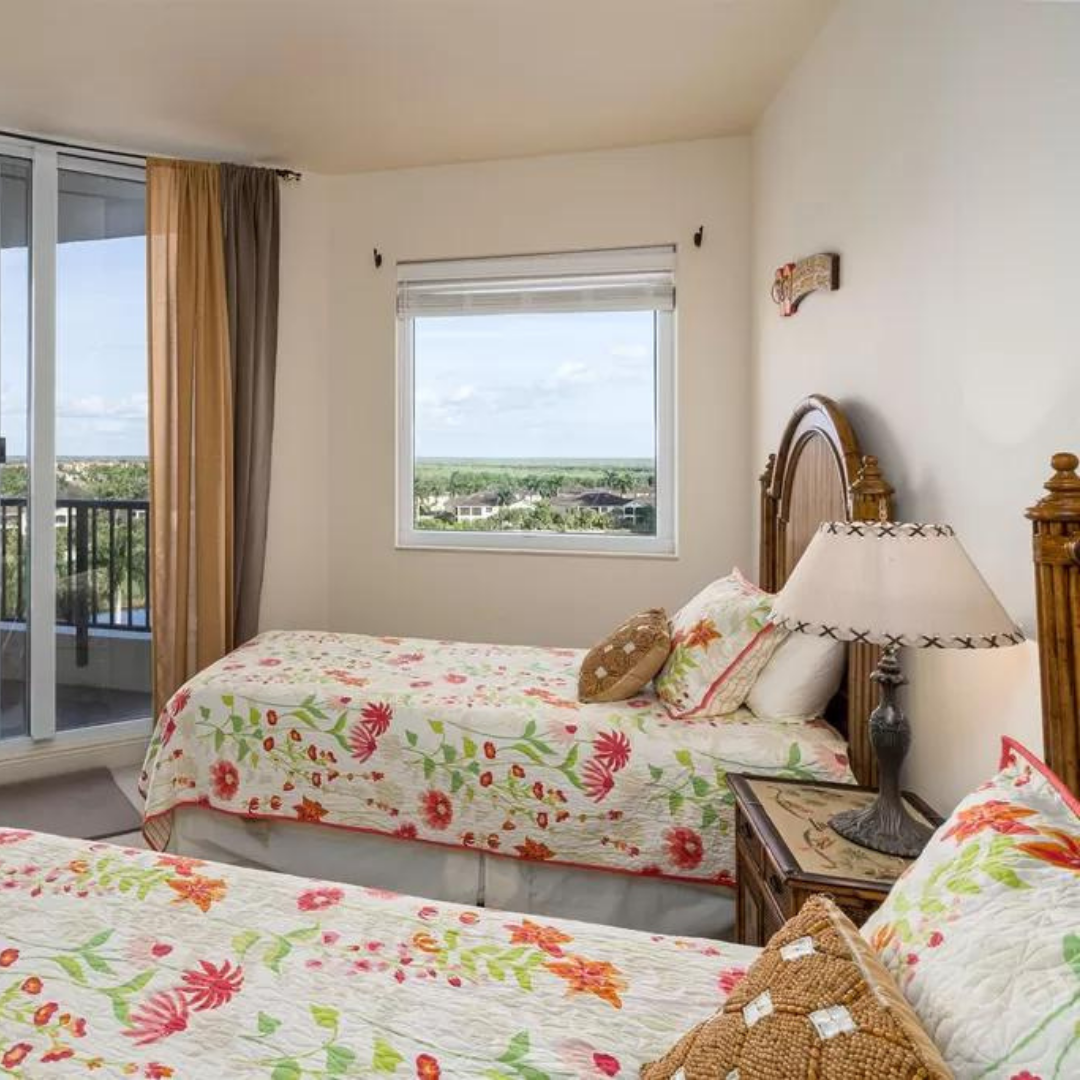
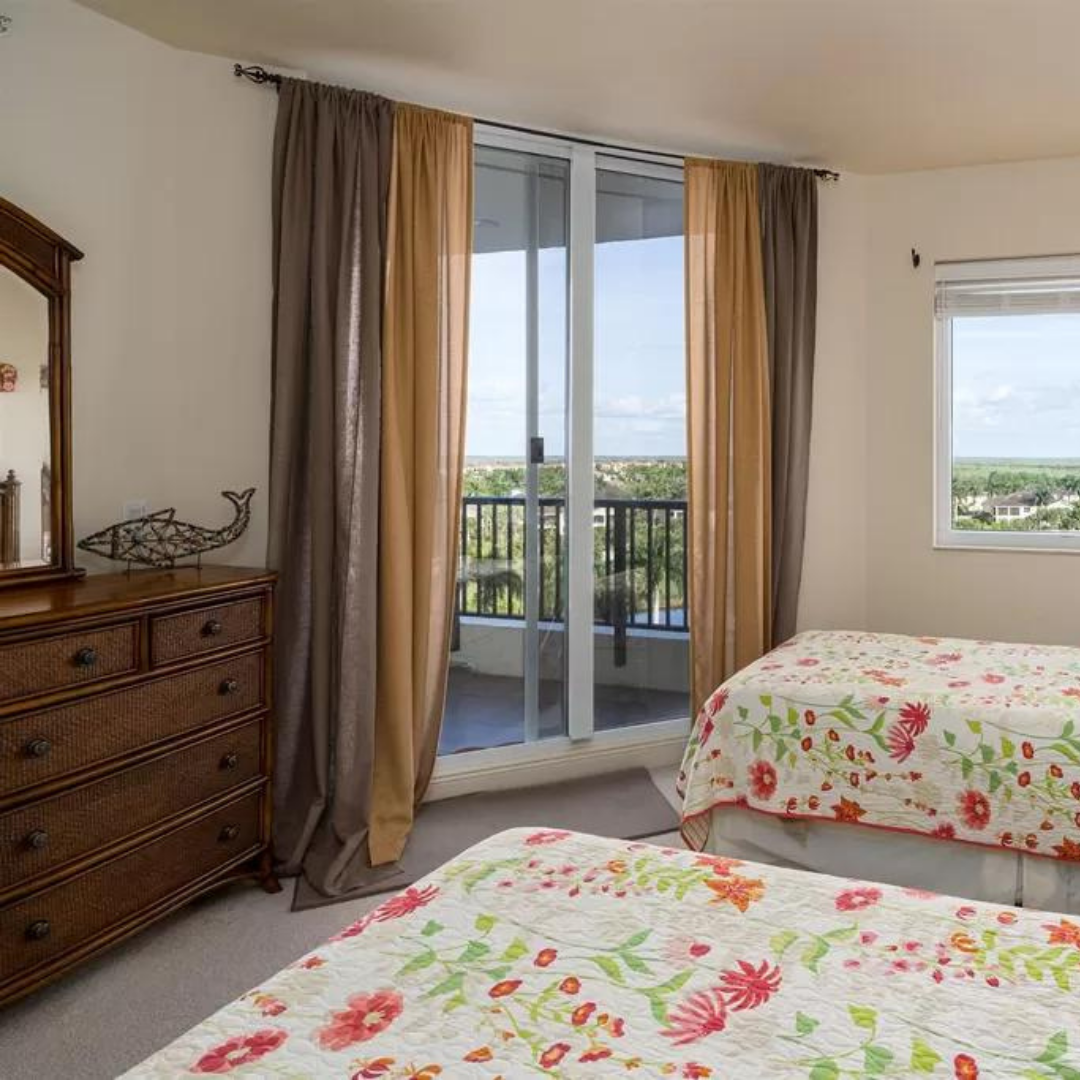
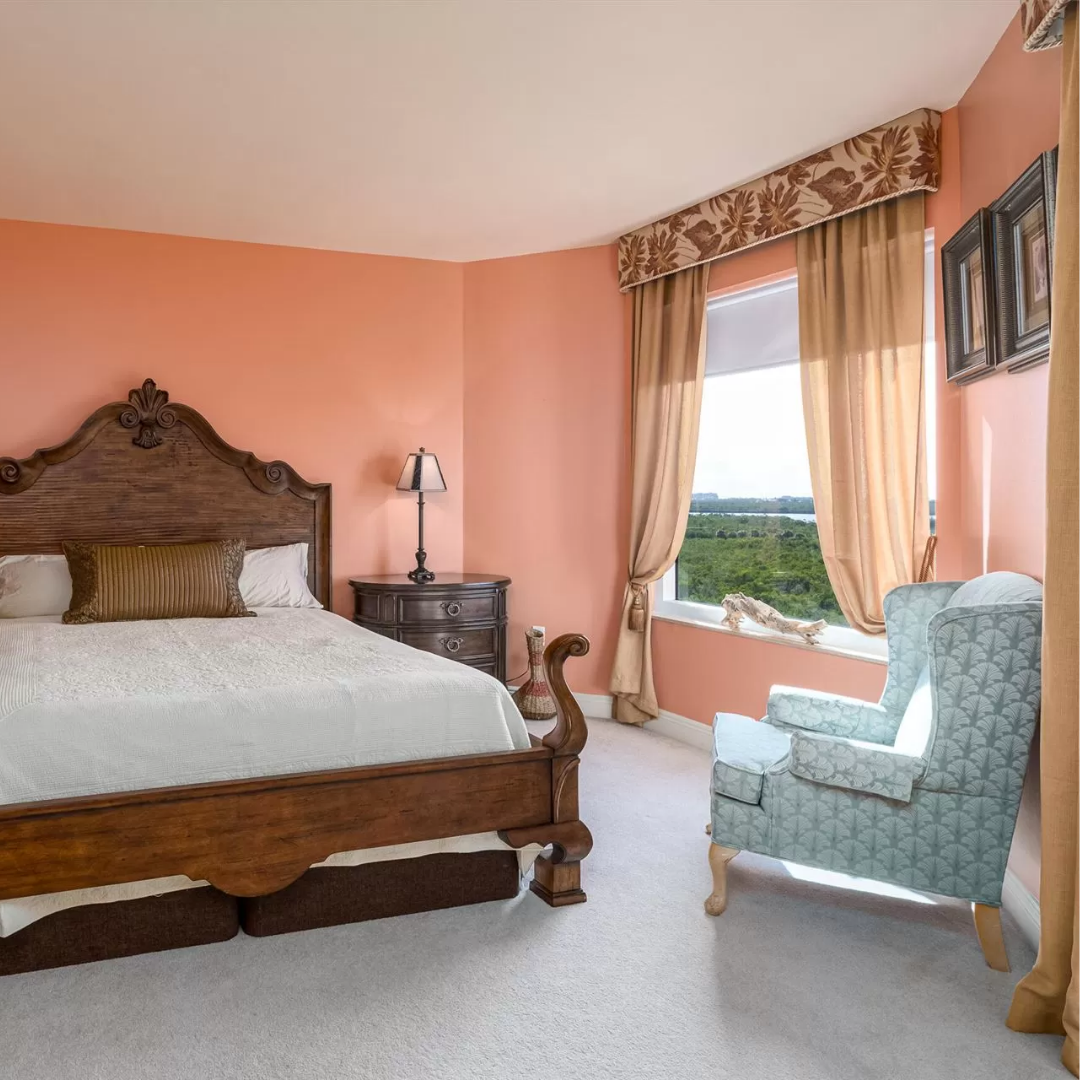
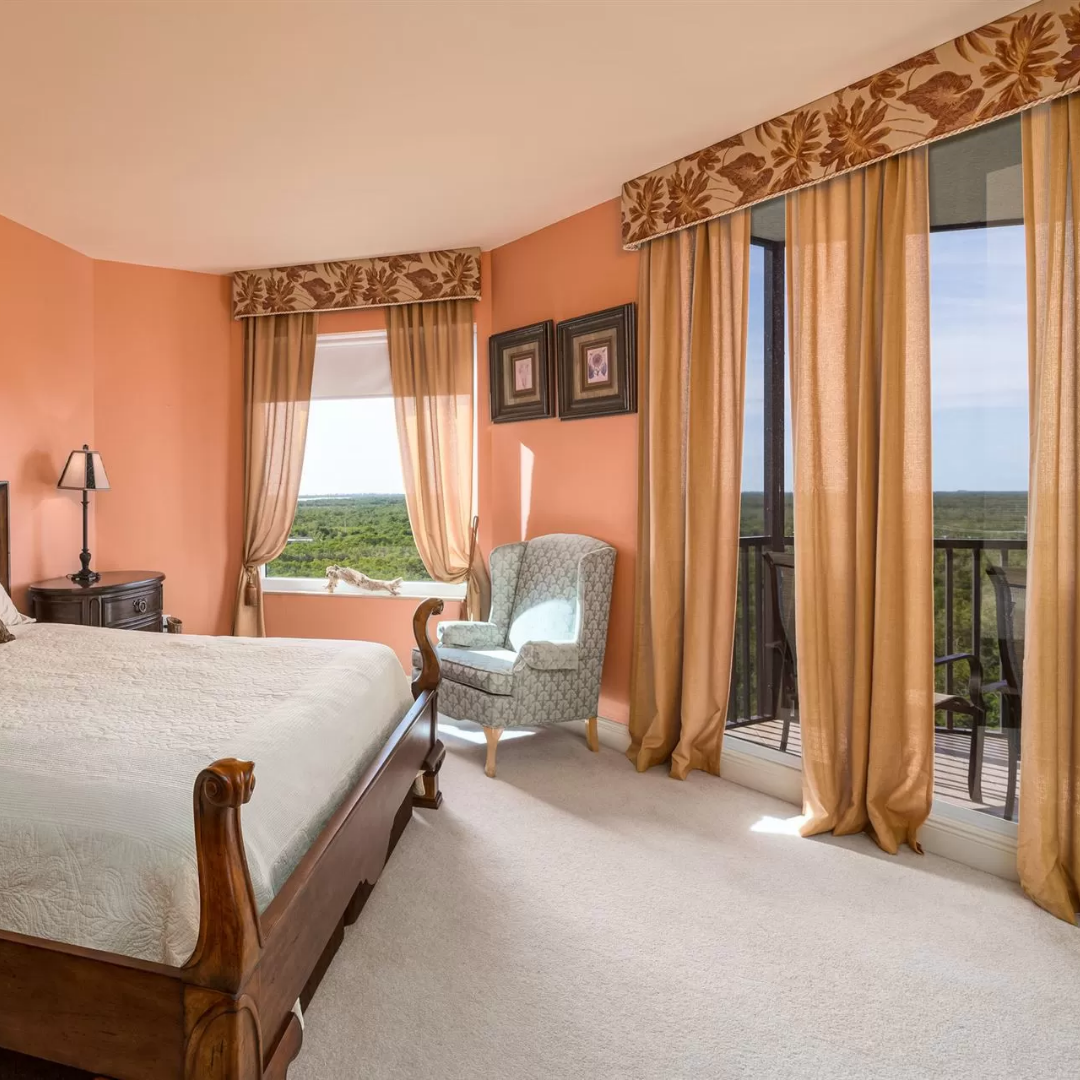
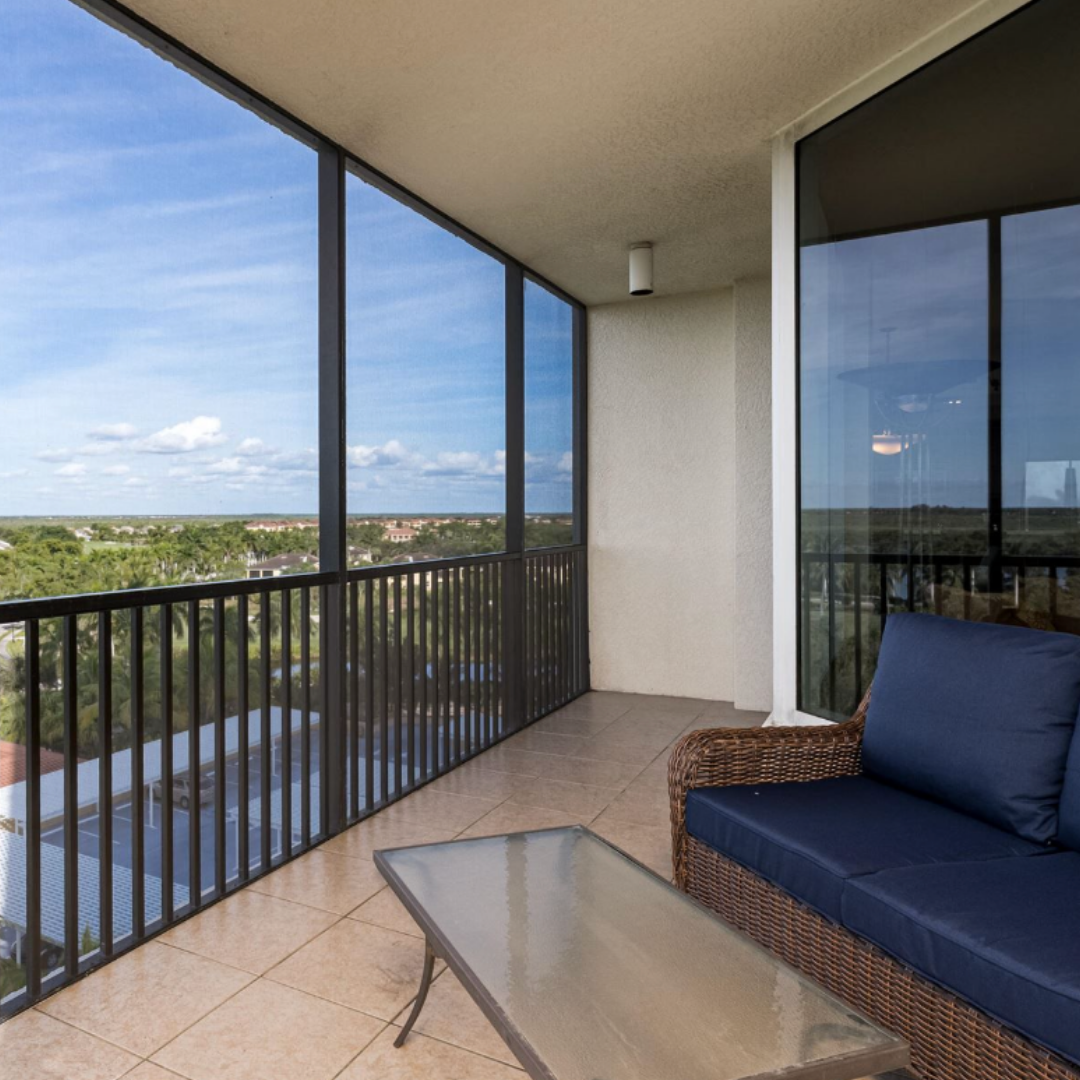
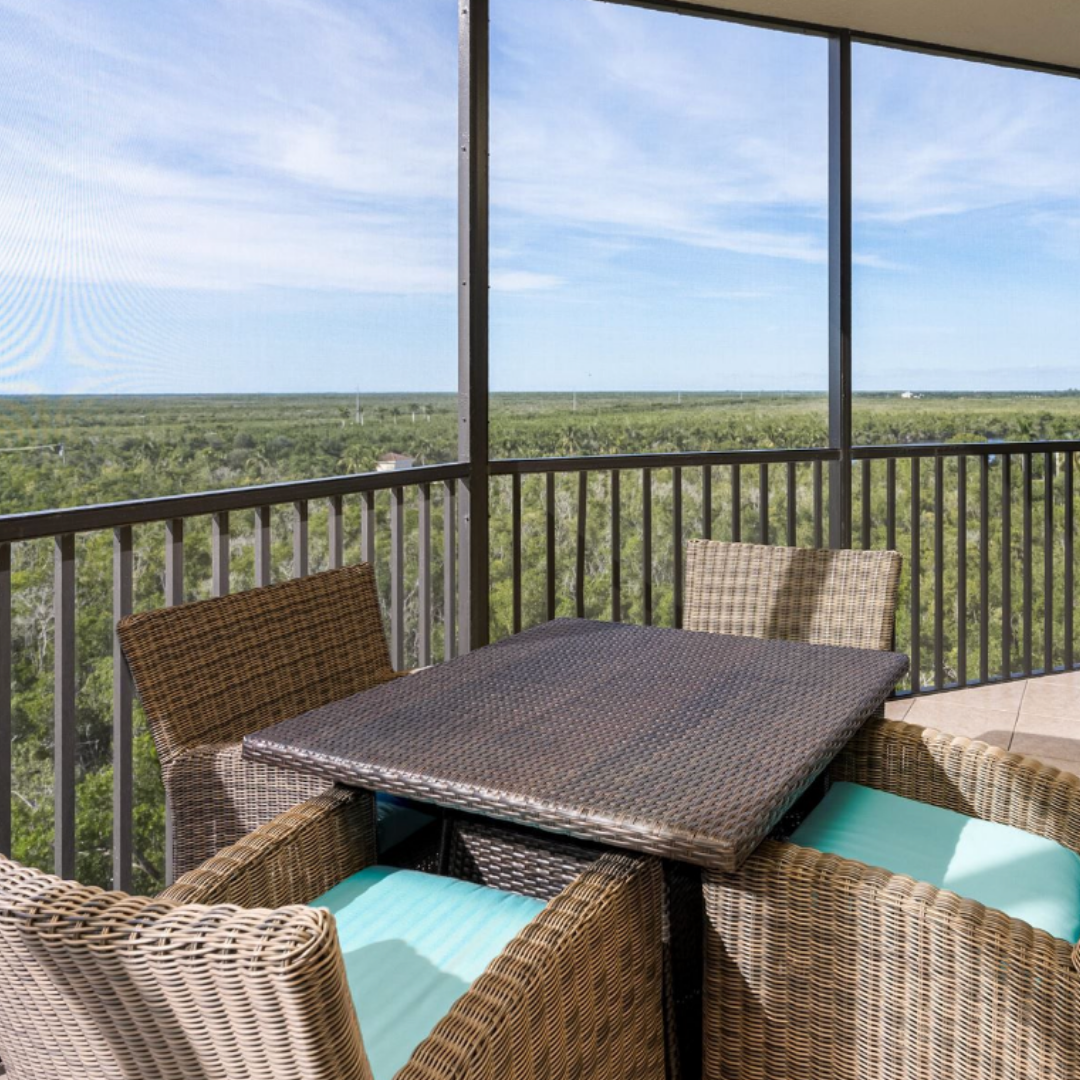
Here is the condo, as we purchased it. Consider these to be all of the “before” photos.
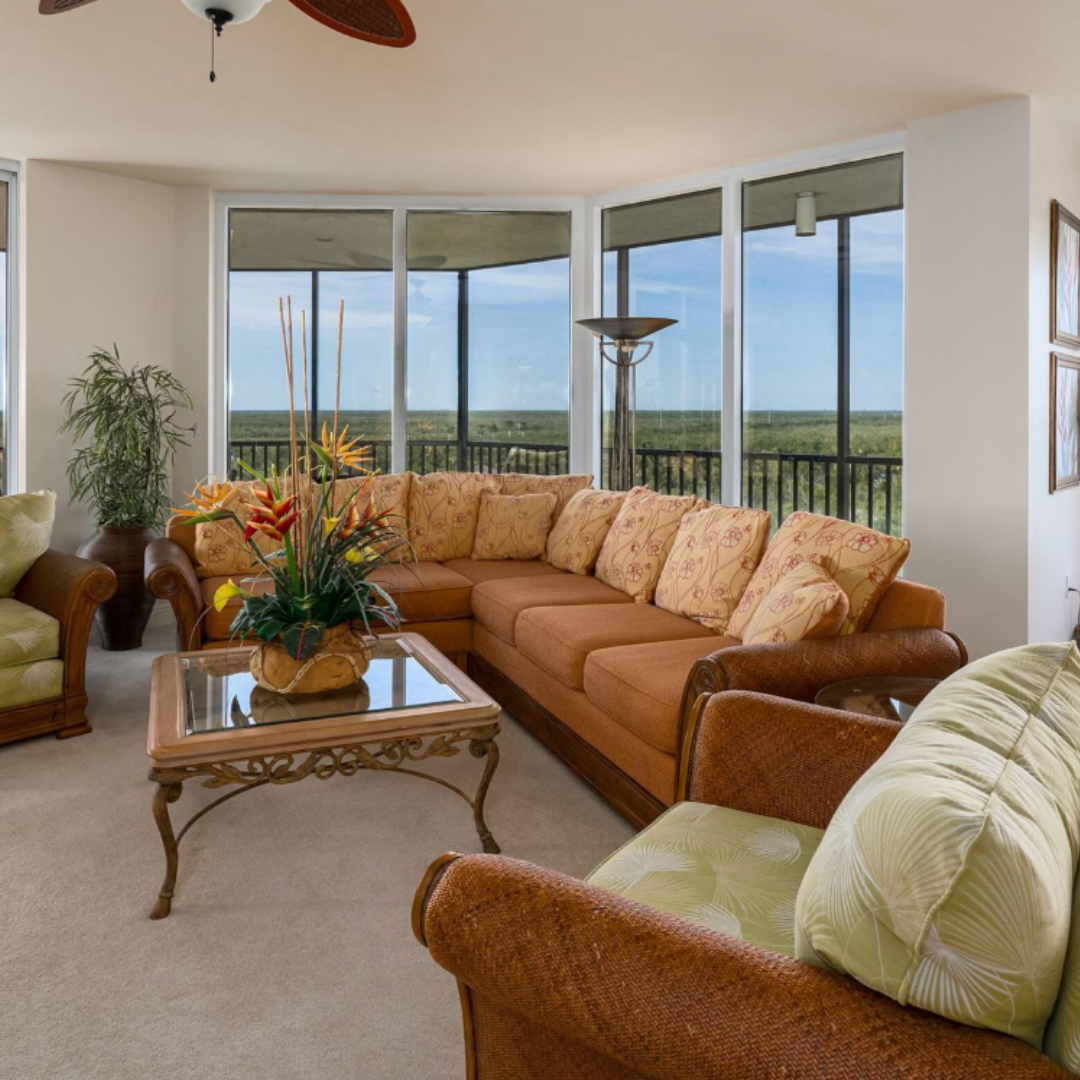
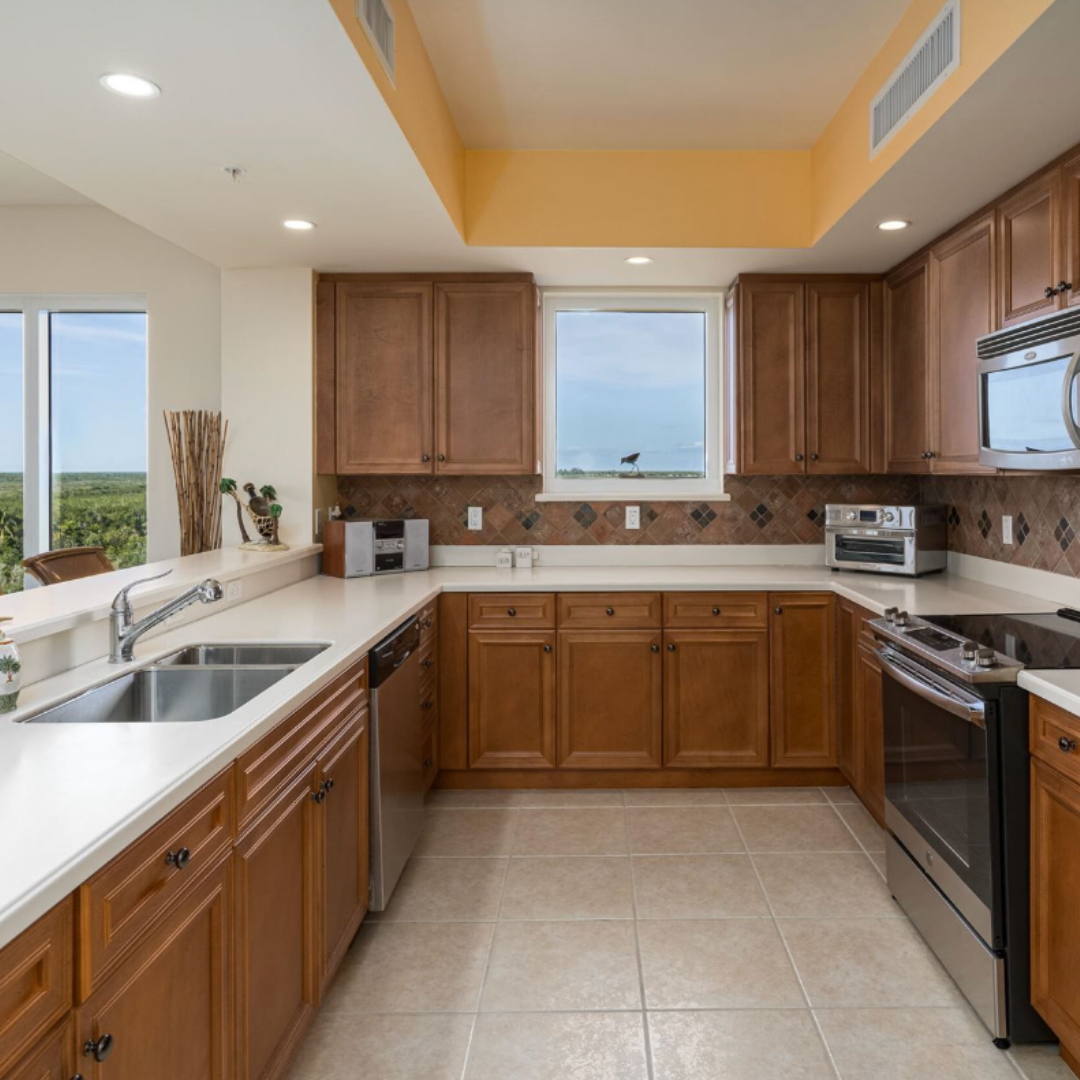
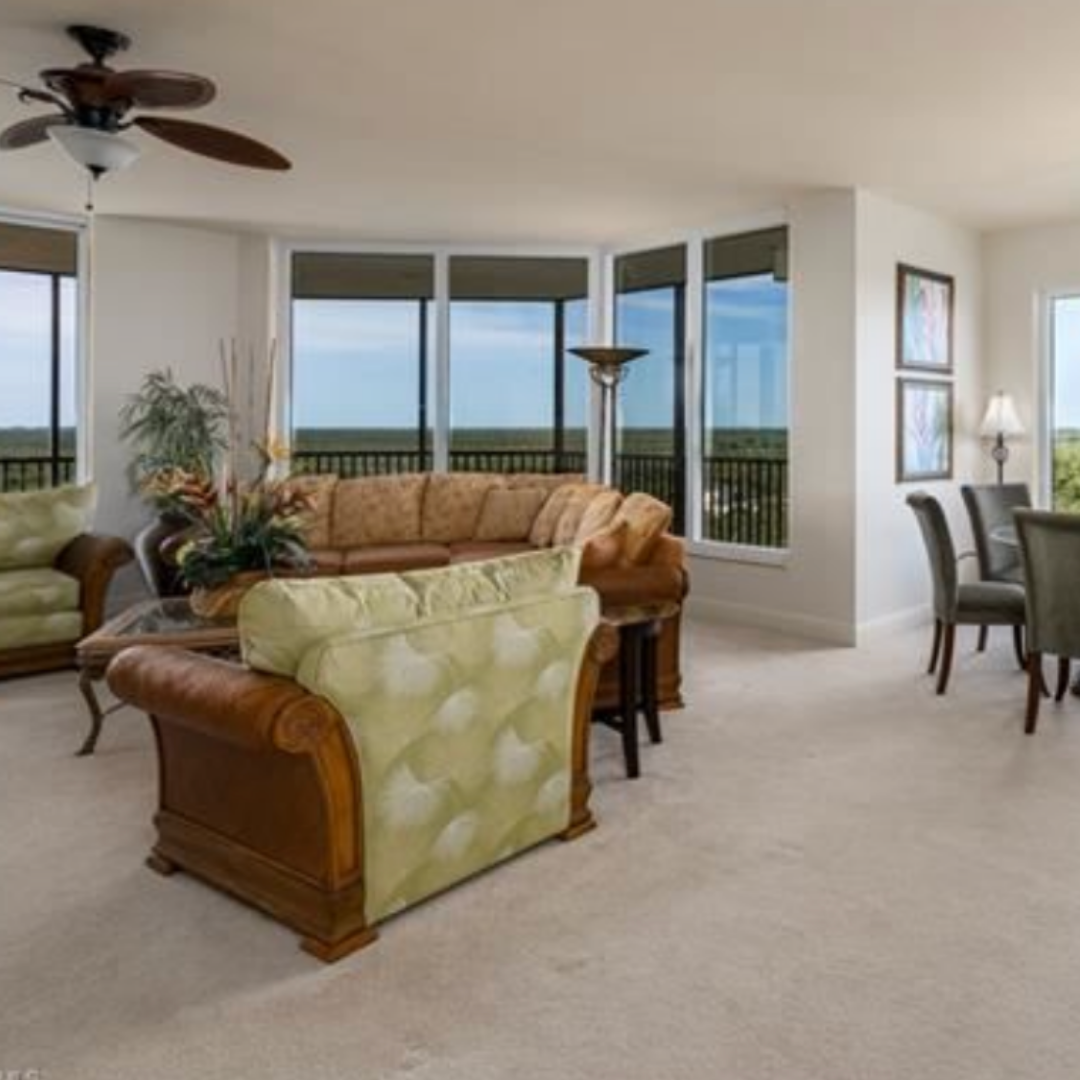
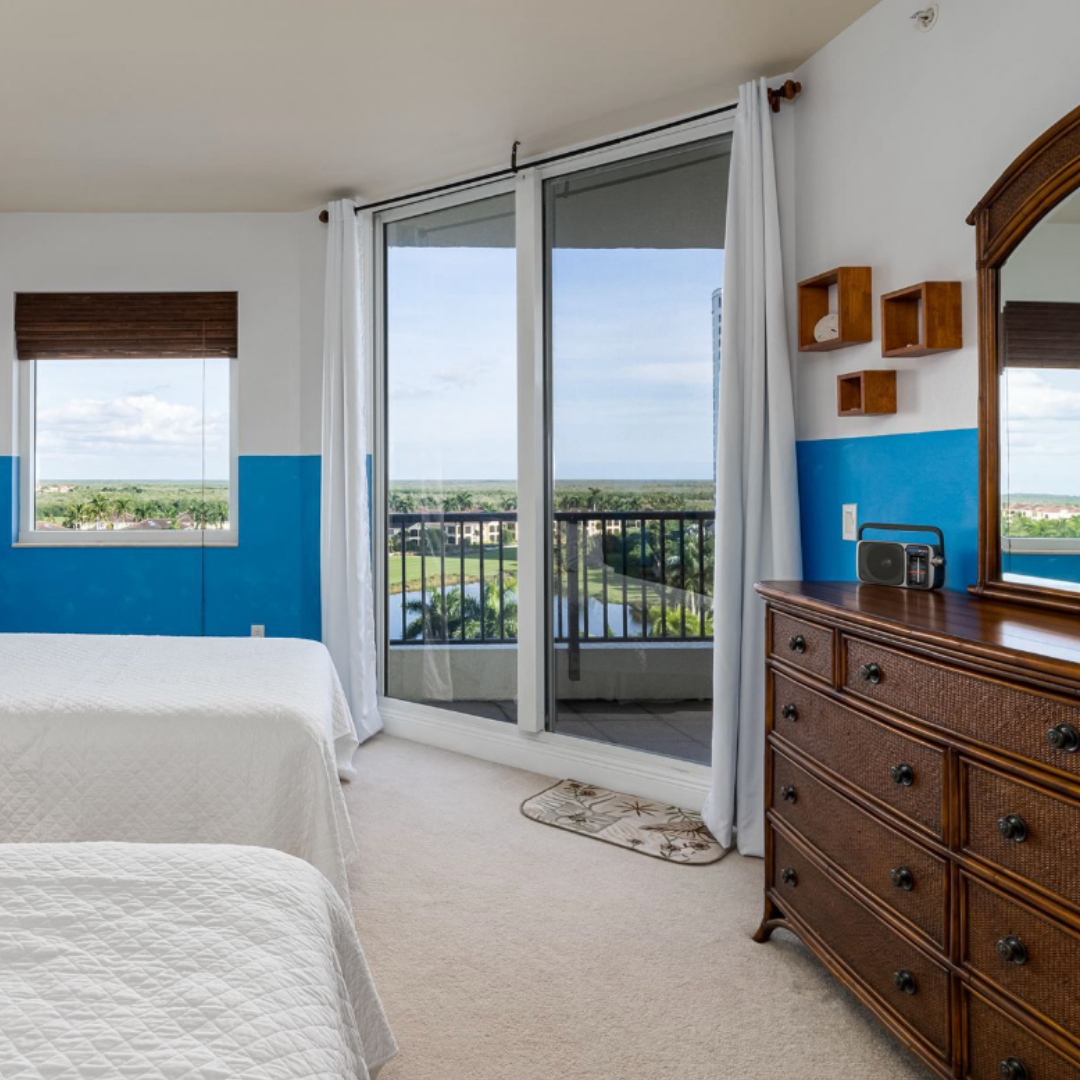


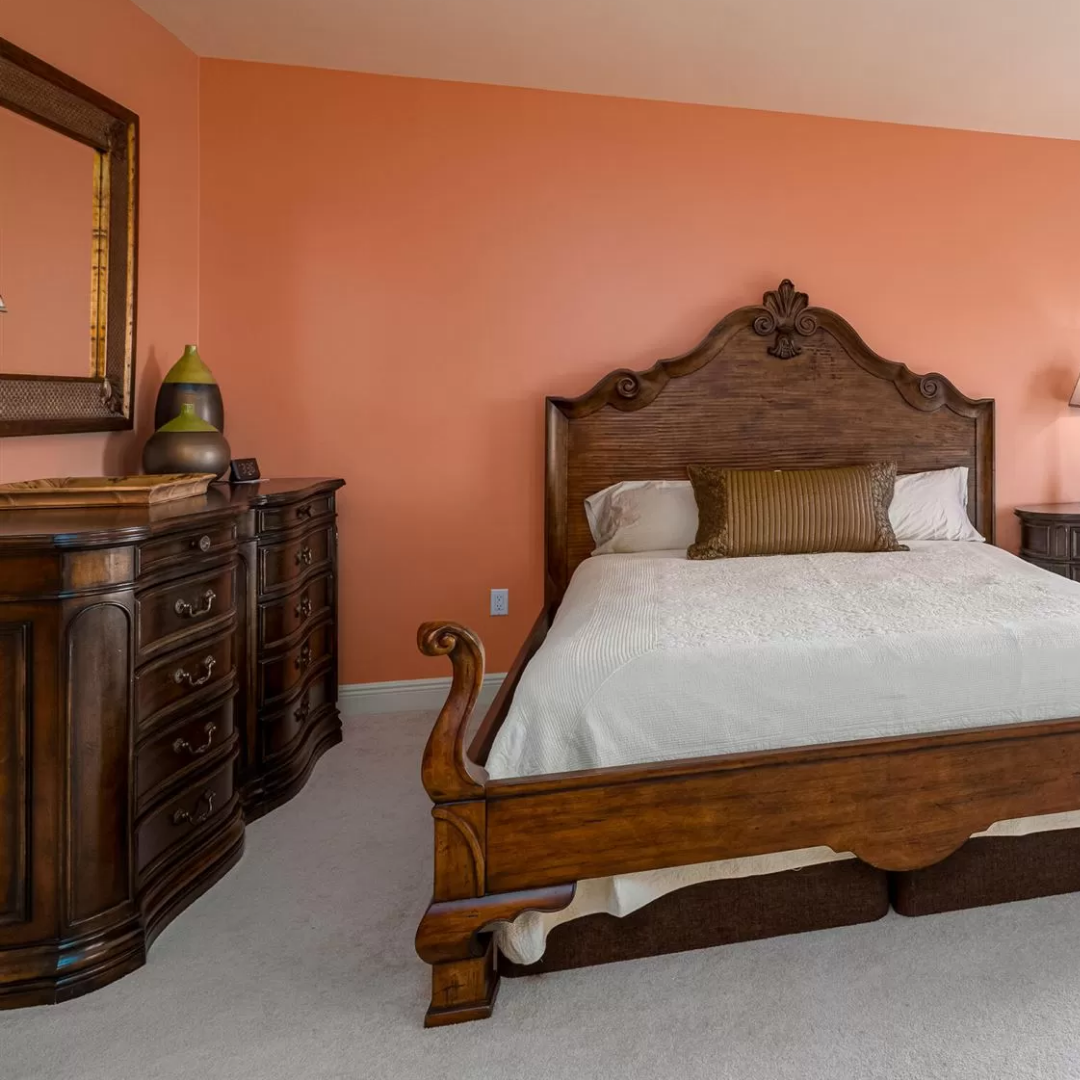
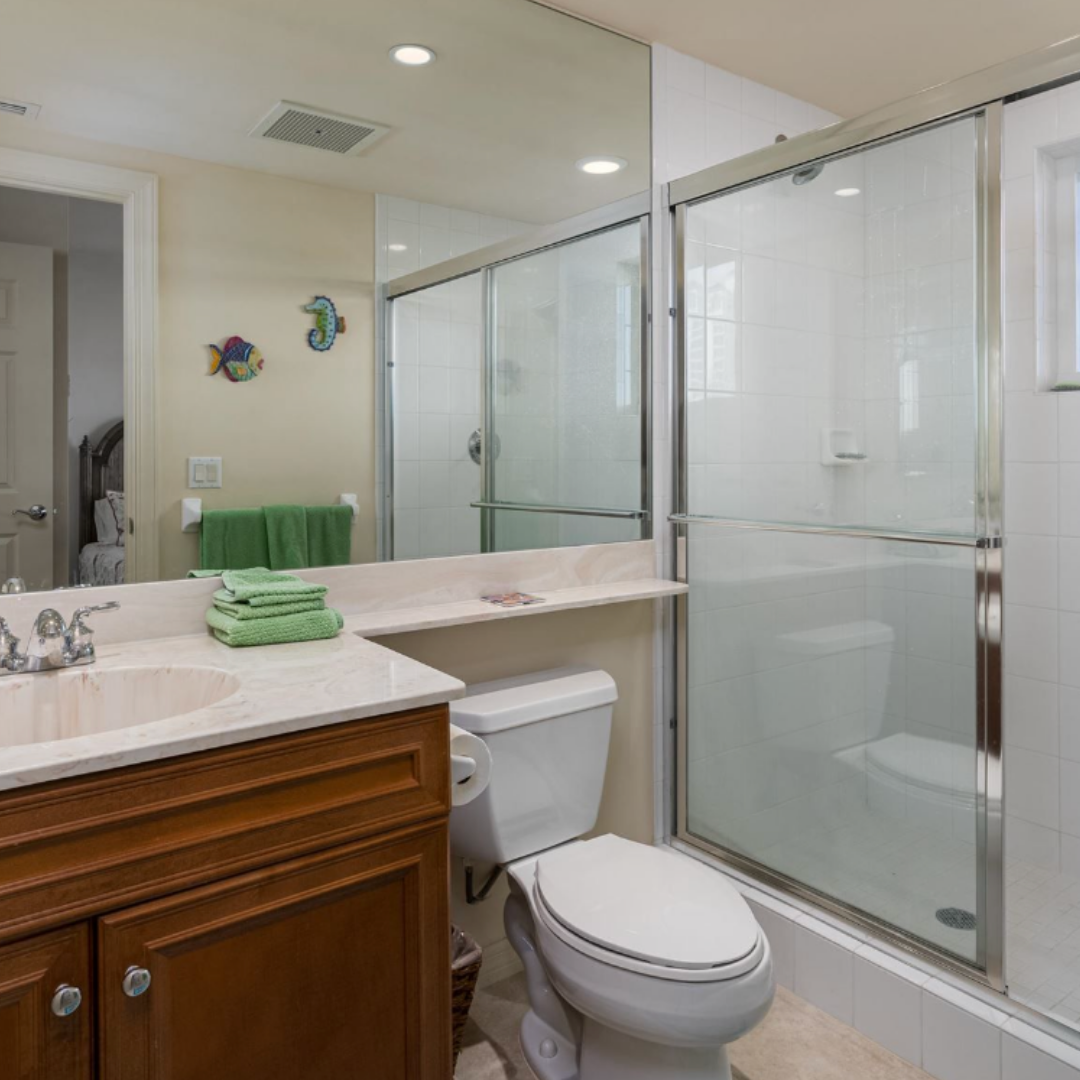
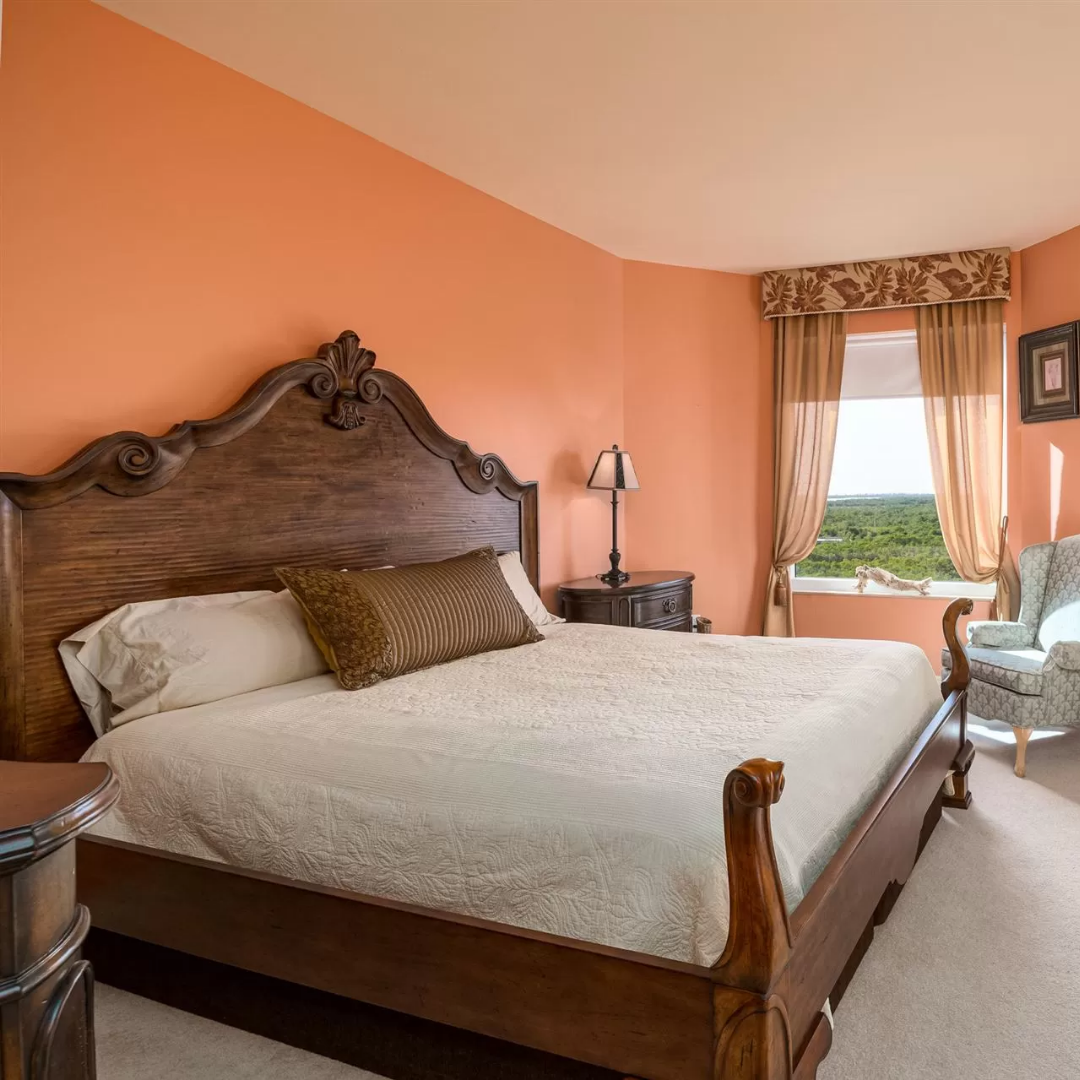
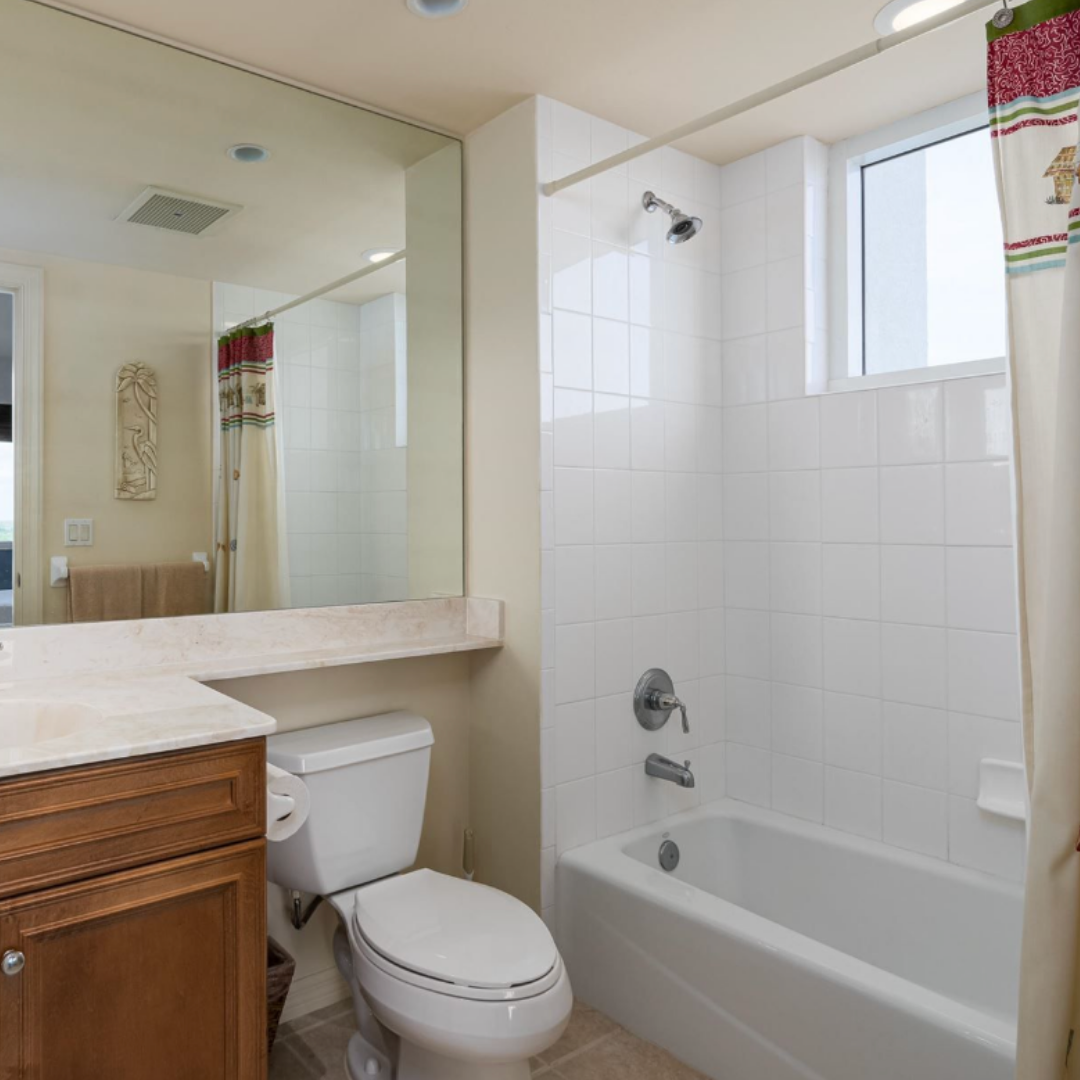
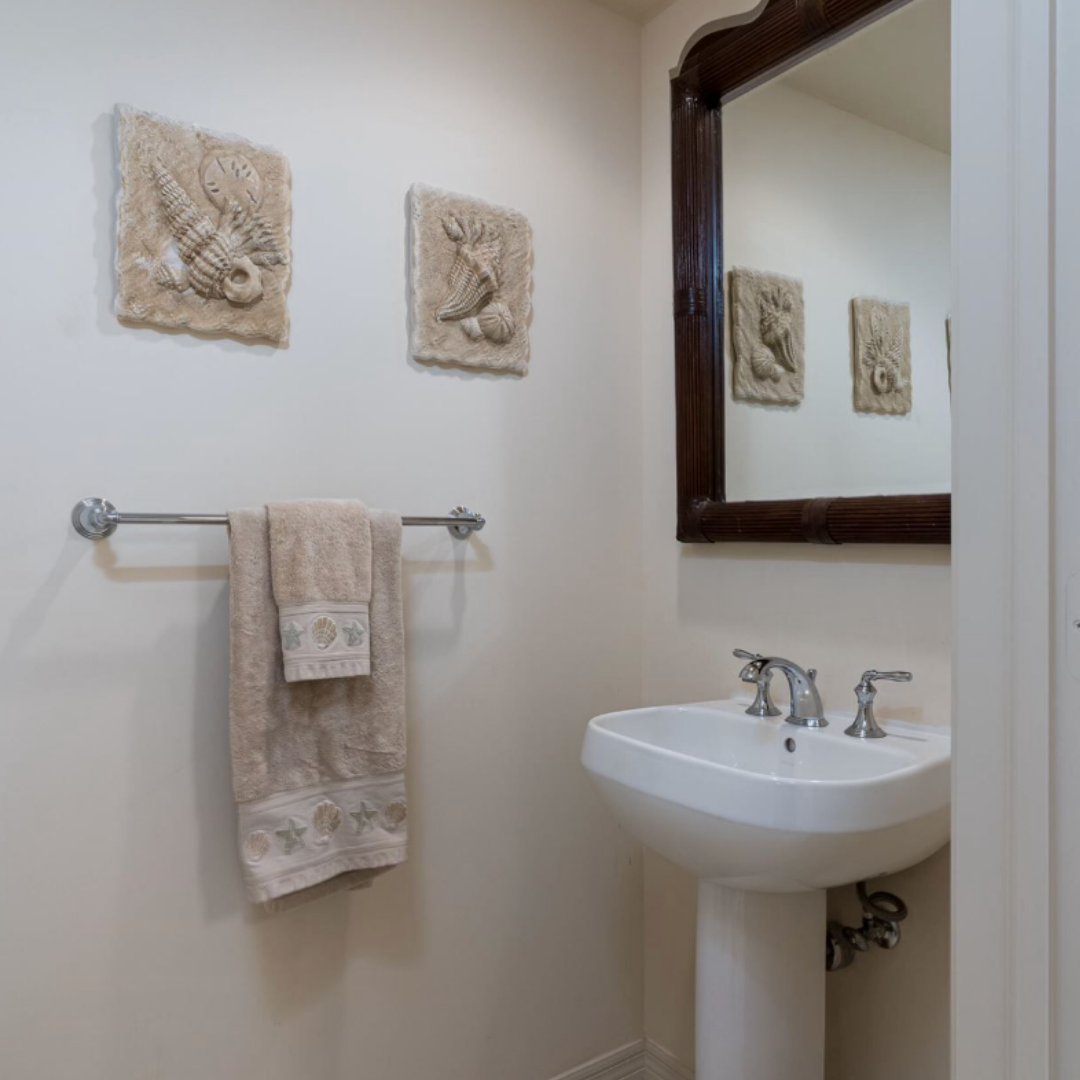
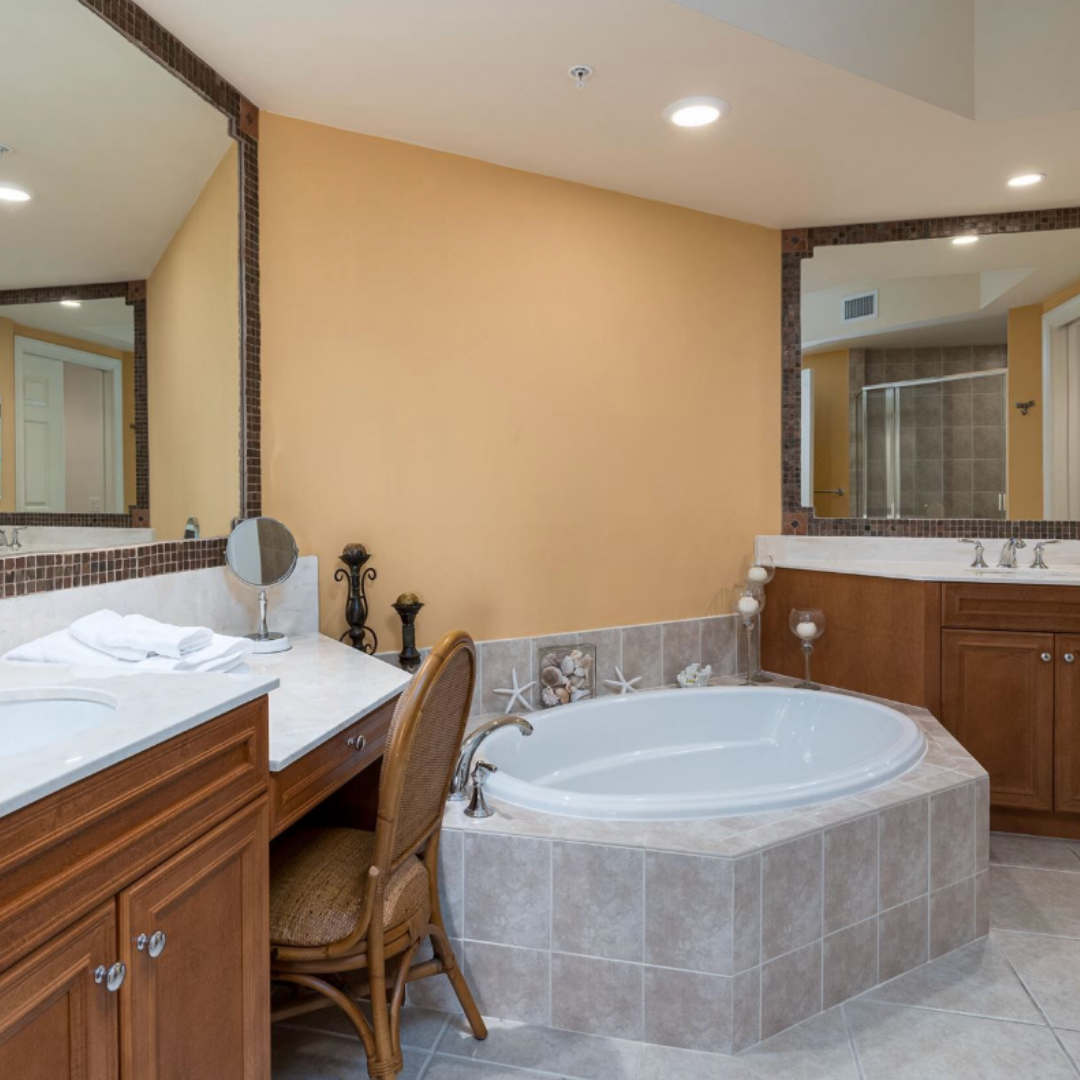
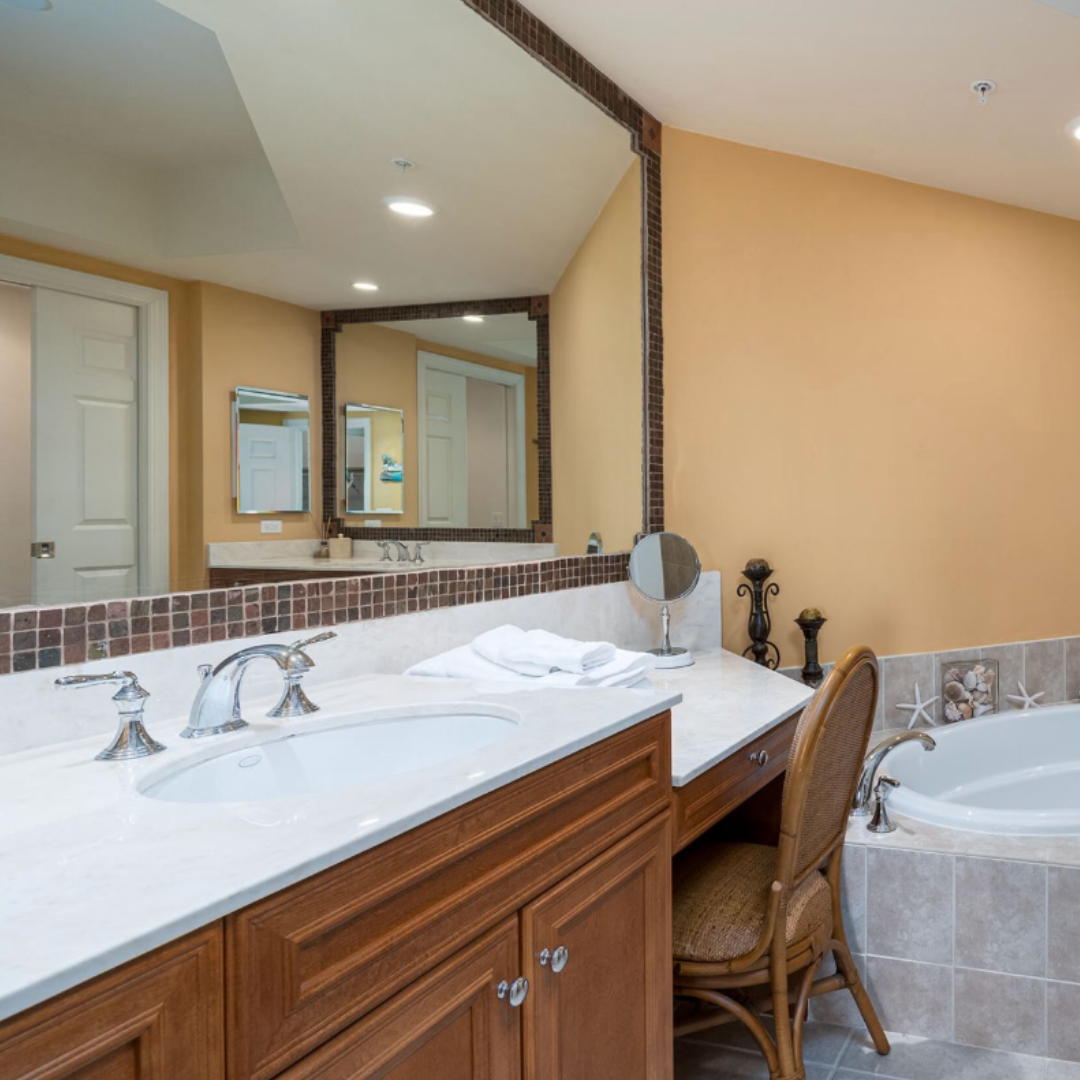
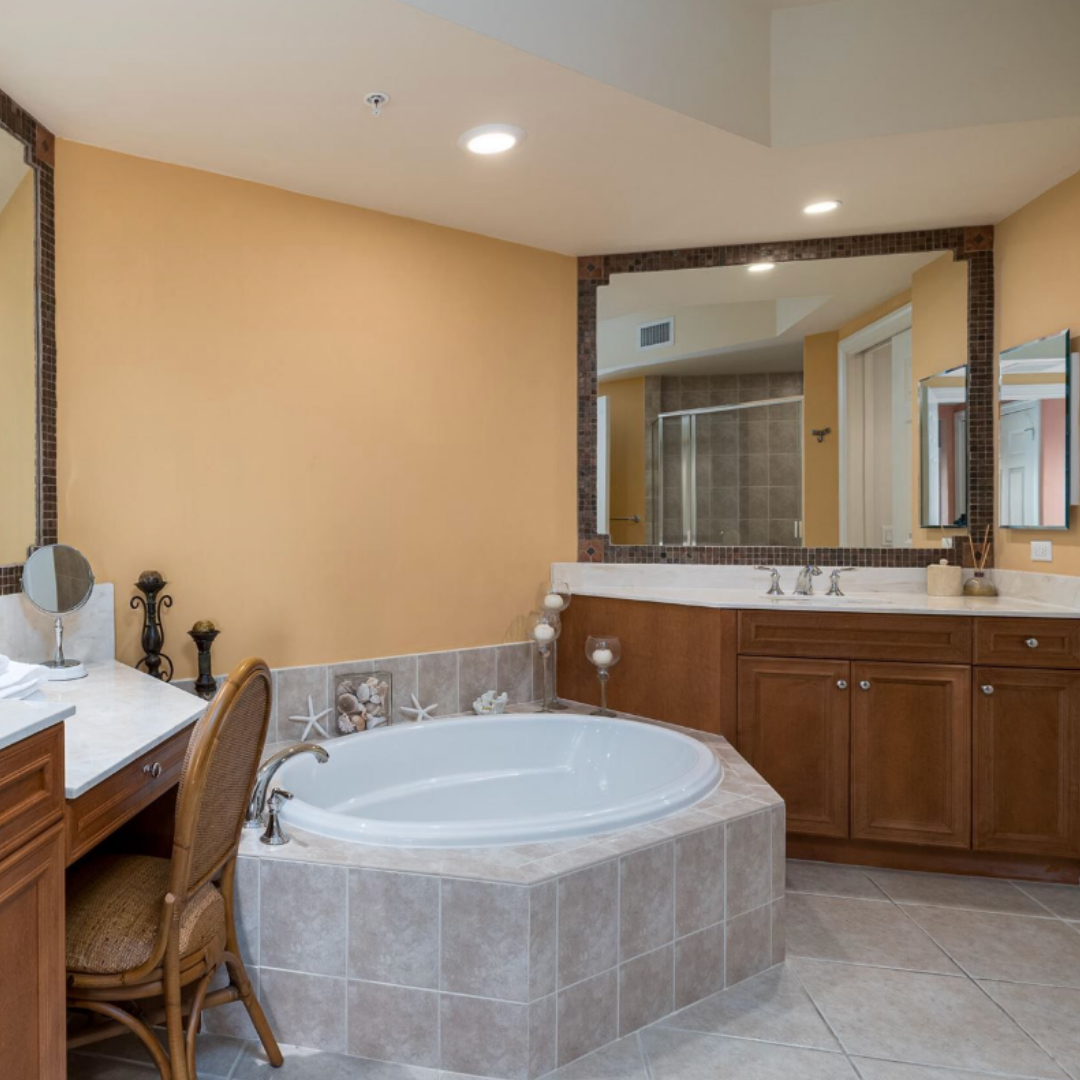
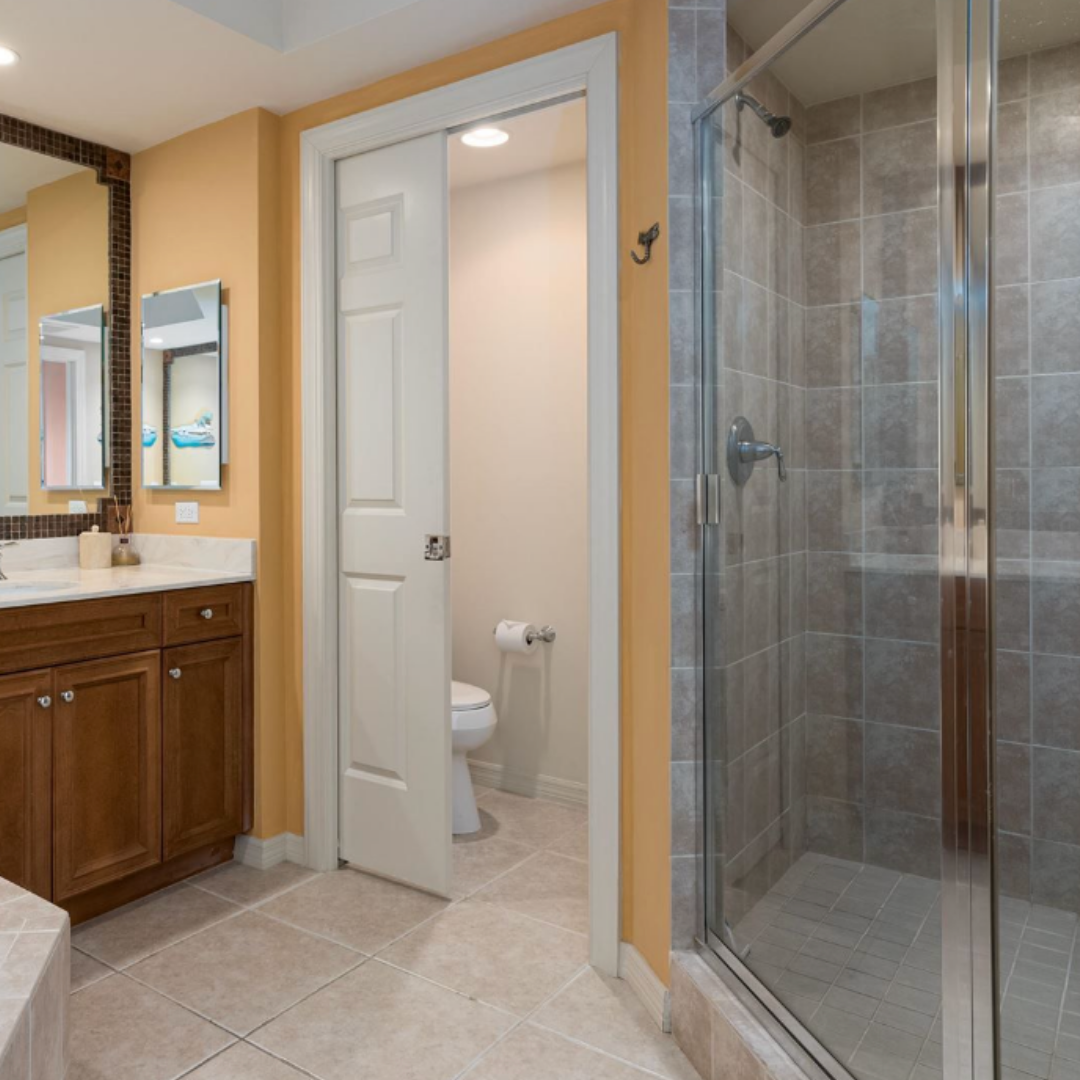

As you can see, we’ve got great bones to work with. All of the cabinets are solid wood, sturdy, and will be seeing fresh paint in their future. We’ve got the cabinets in the kitchen, plus two guest bathrooms, and our primary suite. There’s a half bath in the hallway off the living area, which has a pedestal sink.
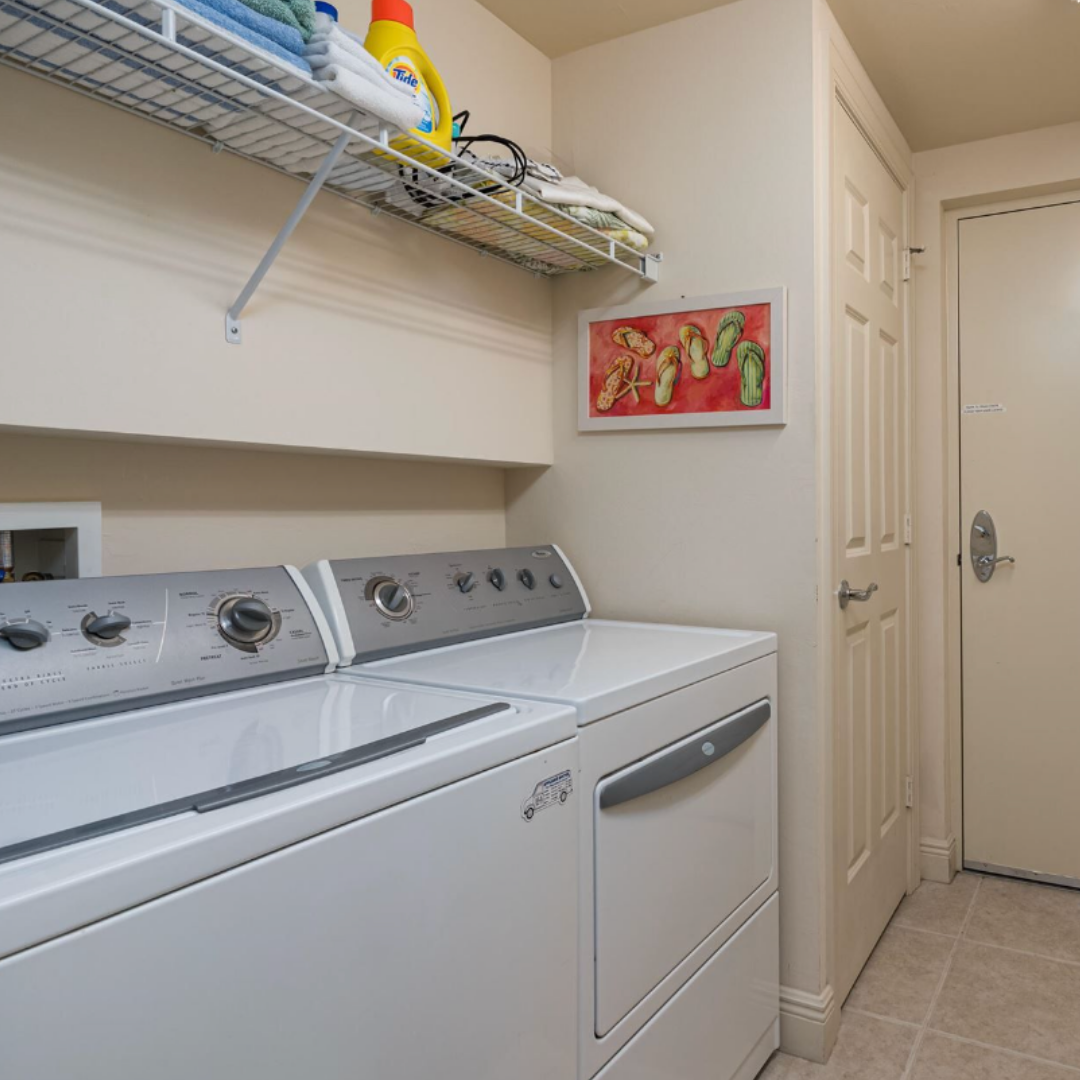
We have 3 bedrooms, 3.5 baths, a laundry room, open concept living/dining/kitchen, a large wrap-around balcony, and a smaller guest balcony (not shown). Each bedroom has it’s own full bath, which is a really great detail.
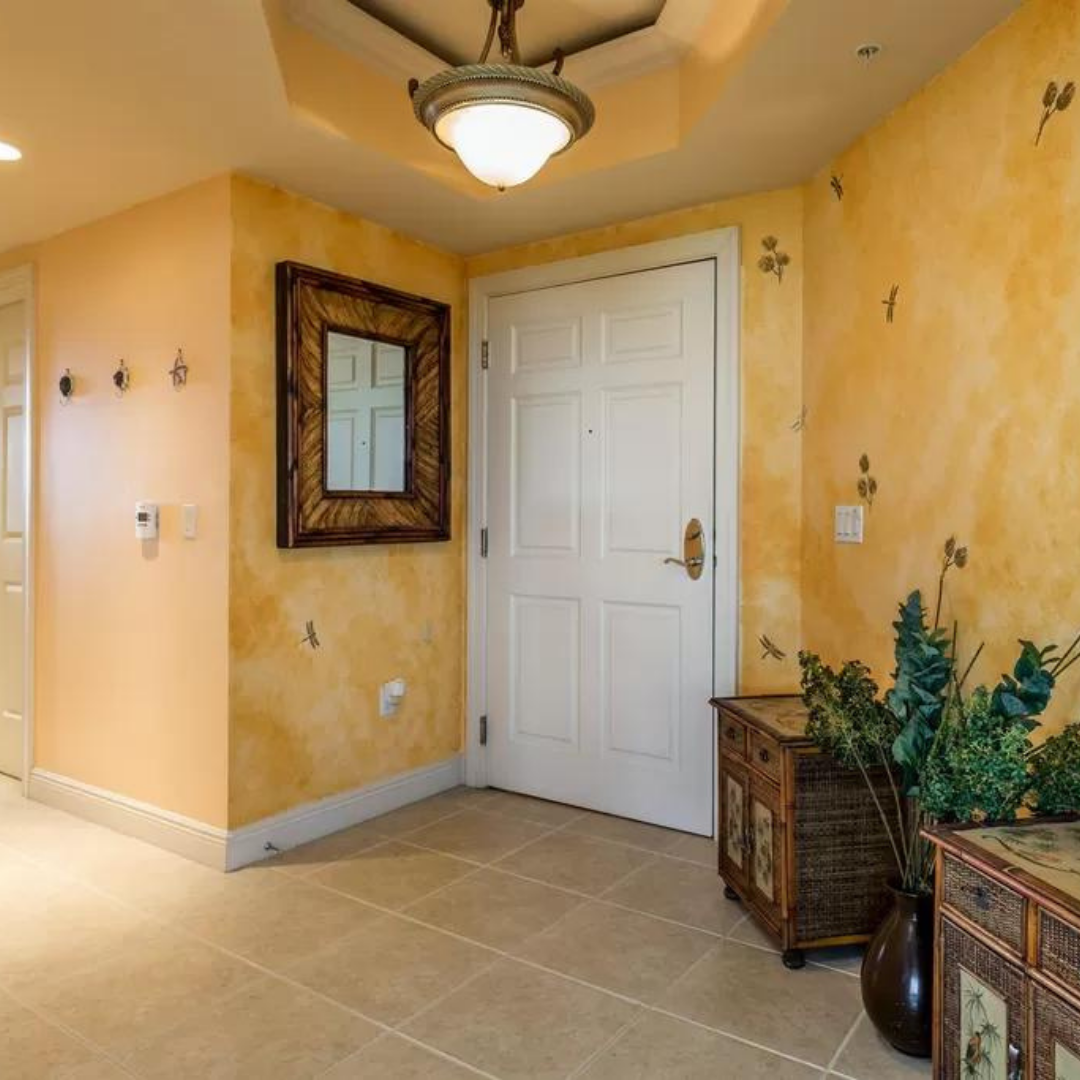
As soon as we closed, we made some immediate changes: in the kitchen, we fixed a broken drawer glider, replaced the old broken faucet, replaced all the broken light bulbs, tossed the giant boom box (???), replaced the broken counter stools, and added some much-needed counter organization. In all of the bathrooms, we added fresh new towels, and removed the beach-themed knick knacks and decor. We also added a new shower curtain in the guest bath, as well as new window curtains to the dining room and all three bedrooms. In the dining area, we replaced the artwork on the wall, and fixed all the broken chair legs. In the living room, we straightened out the position of the sofa and chairs, got rid of one of the oversized chair, replaced the broken ceiling fan, added a small desk area, and got rid of all the tropical faux plants/decor. In the entry (which was painted beige, and thankfully is NOT that orange sponge painting anymore), we added a mirror, shelf, coat rack, and a vintage console table with baskets underneath. In the half bath, we replaced the giant wood mirror with a sleeker, larger black oval one. In the laundry room, we added cabinets above the washer-dryer, which we are keeping locked and using to store a lot of our owner supplies.
The biggest change, which I’ll share in another post, is the total redecorating of our primary bedroom. We painted the room white, sold the wood bed frame and side tables, moved the large dresser into our walk-in closet (which had no drawers otherwise), added sconces, a new bed frame/headboard, new artwork, new side tables, new window treatment, new bedding, a storage bench, and a full-length mirror. Here’s a little, tiny preview:

One kinda major, unexpected hiccup is the current paint color of the condo. The ENTIRE condo - trim, walls, and ceiling - is painted the exact same shade of beige. After painting the bedroom white, we realized how awfully dated the ivory trim and ceiling are. Painting 2400sqft of trim and ceiling is going to be a CHORE, but we think that might be the next thing we tackle. It needs to all be a fresh coat of pure white. In fact, once that’s all white, we think it’ll be enough to make the beige walls feel a lot less dated. Since it’s such a huge project, we might start with just the trim and doors, and then do the ceilings down the road.
After the trim, our next project will be to replace the current massive TV wall-unit with a sleeker, custom cabinet wall with a built-in desk. Additionally, as we make those changes, we’ll be sprinkling in smaller projects, like adding ceiling fans to the guest rooms, and replacing all the light fixtures.
Down the road, we’ll dig into the major stuff: new flooring throughout, painting the cabinetry, new backsplash, replacing all the living room furniture, and implementing new design plans for the guest rooms. We see this all taking a few years, especially since we can only work on it between renters, and on long weekends when we can get down there.

Want to see more behind the scenes and updates on our condo? Be sure to follow me @jackiemangiolino
Disclaimer: some links may be affiliate links, which mean I earn a small commission if you purchase. All opinions are my own.

